# AWS Account Integration
### **Link AWS Account**
#### **Navigating to the Account Integration Page**
- **Log in to the Platform**
- Access the platform and sign in using your credentials.
- **Open the Account Selector**
- Locate the **Select account** dropdown at the top-right corner of the dashboard.
- Click on it to open the list of available cloud accounts.
- **Add Cloud Account**
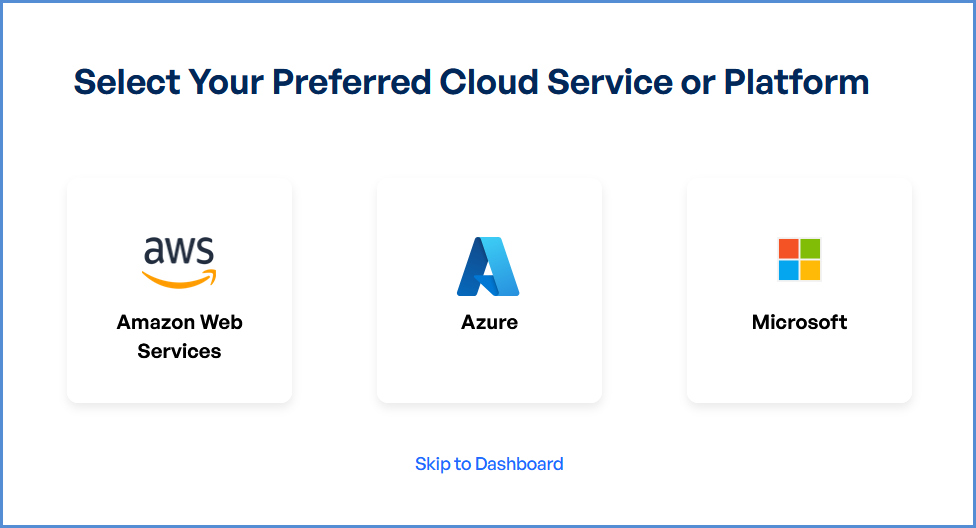
- From the dropdown menu, click on **Add Cloud Account**. This will redirect you to the **Select Your Preferred Cloud Service or Platform** page.
- Click on the **AWS (Amazon Web Services) card**.
**Note:** Initially, only **AWS Management Account** can be linked in this section.
[](https://xops-docs.axiomio.com/uploads/images/gallery/2026-03/mYmB5VMHnHj638eS-whf6mdfxupwl23zh-arhimage.png)
**No Management Account Initially**
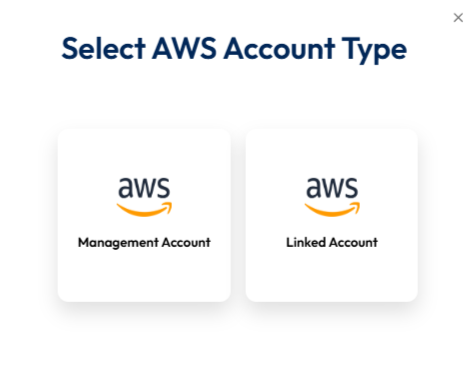
If you do not have any management account linked initially to the Xops 360 Portal, follow the steps below to add a new AWS account. After clicking on the **AWS (Amazon Web Services)** card on the **Select Your Preferred Cloud Service or Platform** page, a new window will appear prompting you to select the **AWS Account Type**.
[](https://xops-docs.axiomio.com/uploads/images/gallery/2026-03/NHchOC9tnkzuUIcm-image.png)
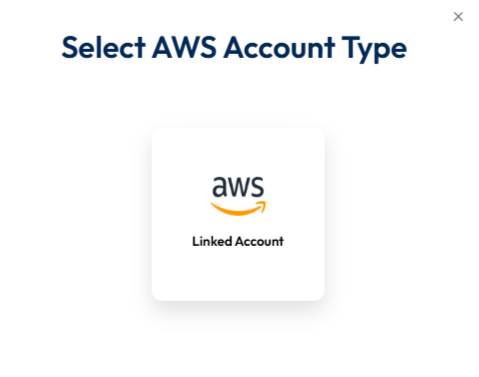
**Select AWS Account Type**
**On the **Select AWS Account Type** screen, you will see two options:**
- Management Account
- Linked Account
Click on **Management Account** to proceed with linking your AWS Management Account to the Xops 360 platform.
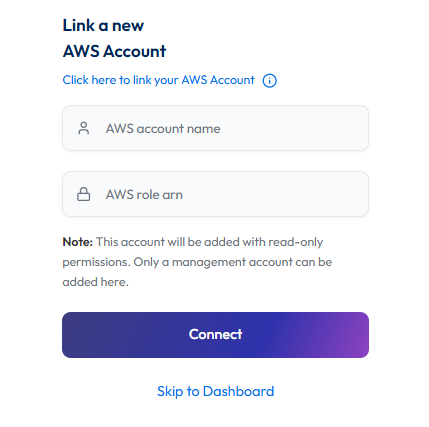
**Link a New AWS Account**
After selecting Management Account, you will be redirected to the Link a New AWS Account page.
[](https://xops-docs.axiomio.com/uploads/images/gallery/2026-03/TGmggo6qWz3Brp3u-image.png)
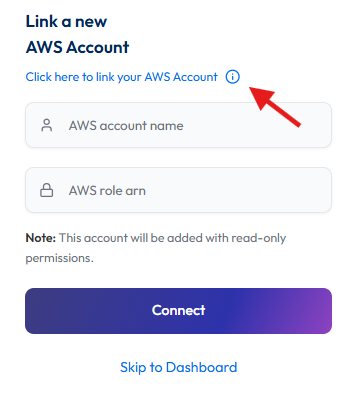
#### **Initiating Account Integration**
- **Access Setup Instructions**
- Click the **Information ("i") button** to view step-by-step setup guidance.
[](https://xops-docs.axiomio.com/uploads/images/gallery/2026-03/uYOp26T3l1uvthQO-image.png)
- **Retrieve AWS Role ARN**
- Follow the setup guide to create a required **Cloud Formation stack** in the AWS **Management** Console.
- Once the stack is created, navigate to the **Outputs tab** in the stack details page.
- Copy the **AWS Role ARN** from the output.
- **Configure AWS Integration**
- Return to the **Link a New AWS Account** page in the platform.
- Provide a suitable name in the **AWS Account Name** field.
- Paste the copied **AWS Role ARN** into the designated field.
- Click **Connect** to finalize the integration.
##### **Adding a Linked AWS Account**
If you already have a management account linked to the Xops 360 Portal and want to add a **linked (child) AWS account**, follow these steps:
- **Log in to the Platform**
- Sign in and open the platform dashboard.
- **Open the Account Selector**
- Locate the **Select account** dropdown at the top-right corner of the dashboard.
- Click on it to open the list of available cloud accounts.
- **Add Cloud Account**
- From the dropdown menu, click on **Add Cloud Account**. This will redirect you to the **Select Your Preferred Cloud Service or Platform** page.
- Click on the **AWS **(Amazon Web Services)** card** .
- After clicking on the **AWS (Amazon Web Services)** card on the **Select Your Preferred Cloud Service or Platform** page, a new window will appear prompting you to select the **AWS Account Type**.
[](https://xops-docs.axiomio.com/uploads/images/gallery/2026-03/HmPI5Ay0MiZ2pFNp-image.png)
**Select AWS Account Type**
On the Select **AWS Account Type** screen, the **Linked Account** option will be displayed.
Click on Linked Account to proceed with linking your AWS Linked Account to the Xops 360 platform.
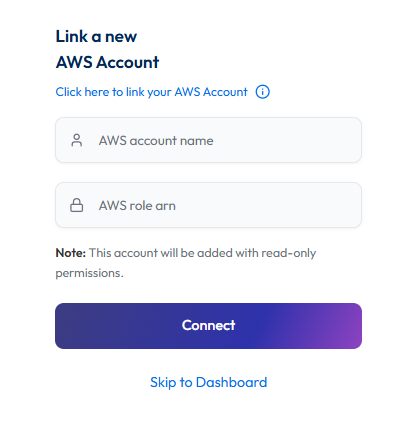
**Link a New AWS Account**
After selecting **Linked Account**, you will be redirected to the **Link a New AWS Account** page.
[](https://xops-docs.axiomio.com/uploads/images/gallery/2026-03/bWqq36TLOcCL2Sj0-image.png)
#### **Initiating Account Integration**
- **Access Setup Instructions**
- Click the **Information ("i") button** to view step-by-step setup guidance.
[](https://xops-docs.axiomio.com/uploads/images/gallery/2026-03/uYOp26T3l1uvthQO-image.png)
- **Retrieve AWS Role ARN**
- Follow the setup guide to create a required **Cloud Formation stack** in the AWS **Management** Console.
- Once the stack is created, navigate to the **Outputs tab** in the stack details page.
- Copy the **AWS Role ARN** from the output.
- **Configure AWS Integration**
- Return to the **Link a New AWS Account** page in the platform.
- Provide a suitable name in the **AWS Account Name** field.
- Paste the copied **AWS Role ARN** into the designated field.
- Click **Connect** to finalize the integration.
**Note:**
- For any challenges, please contact our support team at ****
- **First-Time Login Experience**
- When you log in for the first time, you will be prompted to select your preferred **cloud service or platform** (AWS, EKS Azure, or Microsoft). This selection is required to establish the initial account connection.
- Once your account is successfully connected to AWS, Azure, or Microsoft, this selection screen **will not appear** in subsequent logins. Instead, you will be directed **automatically to the Home page**.
- To manage or modify integrations, navigate to the **"Integrations"** section from the left panel in the dashboard.
### **AWS Account Management**
##### **Access AWS Integration Settings**
- **Log in to the Platform**
- Sign in and open the platform dashboard.
- **Navigate to AWS Integration**
- First, select the **respective account** from the **top-right corner** of the platform.
Choose the specific account for which you want to manage or update the AWS integration settings in the XOps portal.
- Open the **profile menu** located in the **bottom-left corner** of the platform interface.
- Click on your **profile/email section** to open the profile options.
- Select **Accounts** from the menu.
- You will be redirected to the **Integrations page**, where the **AWS Accounts integration settings** are available.
##### **Updating the Account Name**
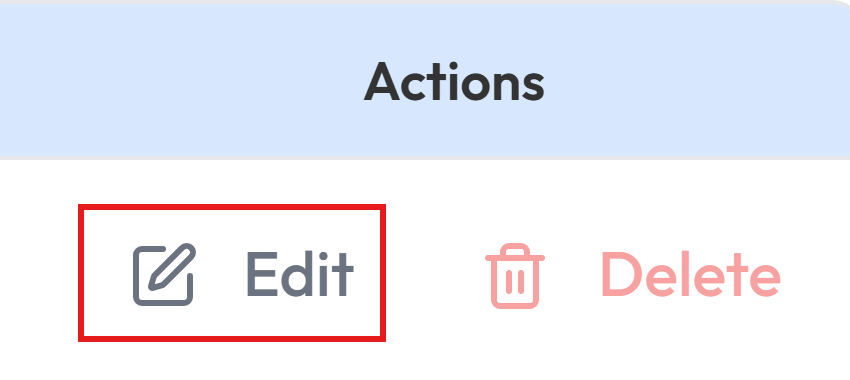
- **Edit the AWS Account Name**
- Locate the **Edit** option next to the existing AWS account name.
- Click the **Edit** button to enable modifications.
[](https://xops-docs.axiomio.com/uploads/images/gallery/2026-03/YmAuMZHGhK7SU4rN-screenshot-2026-03-12-175729.png)
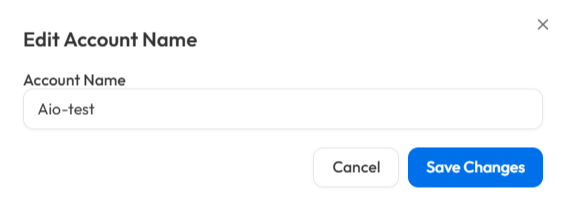
1. **Save the New Name**
- Enter the new AWS account name in the provided field.
- Click **Proceed** to confirm the changes.
- A success message will appear, indicating the account name update.
[](https://xops-docs.axiomio.com/uploads/images/gallery/2026-03/7wlMkdvOlk2nHkMh-image.png)
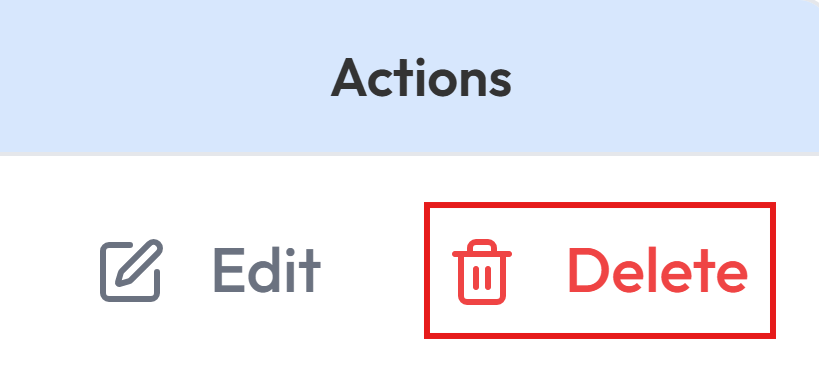
##### **Deleting Linked Account**
- **Delete the AWS Account**
- Locate the **Delete** option next to the existing AWS account name.
- Click the **Delete**.
[](https://xops-docs.axiomio.com/uploads/images/gallery/2026-03/RGmMBqVLYnKJIiNK-image.png)
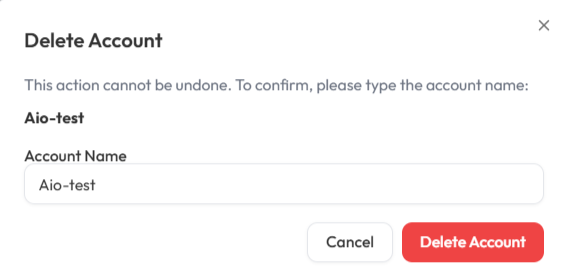
- **Enter the Account Name**
- Enter the AWS account name in the provided field.
- Click **Delete Account** to confirm the changes.
- A success message will appear, indicating Account has been deleted.
[](https://xops-docs.axiomio.com/uploads/images/gallery/2026-03/MnqRZX06pgtgfZ3a-image.png)
Note: There is currently no provision to delete AWS Management accounts from the Xops portal. To delete the account, submit a support request via the following link:
Submit Support Request
**Request Submission Guidelines:**
- **Subject:** Clearly state that the request is for AWS Management account deletion.
- **Description:** Provide a detailed explanation of your request, including relevant account details and the reason for deletion.
- Once submitted, our support team will review your request and assist you accordingly.