Azure Account Integration
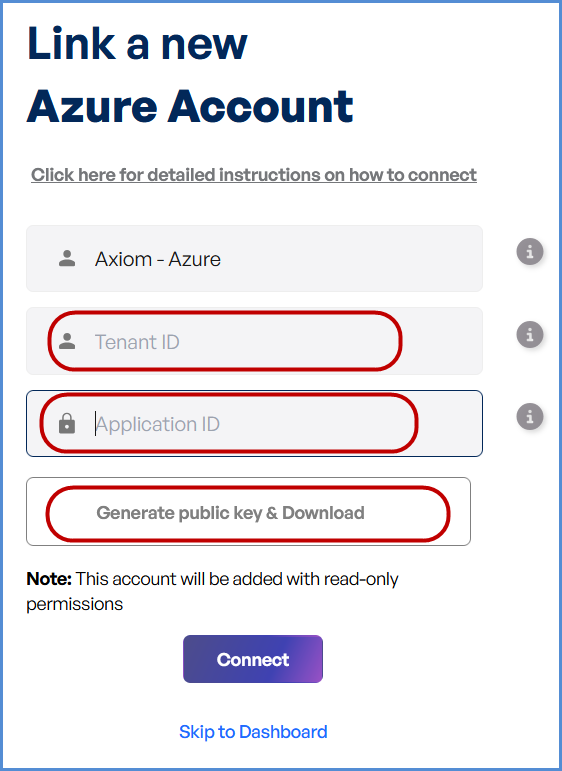
Link Azure Account
Navigating to the Integrations Page
-
Log in to the Platform
- Access the platform and sign in using your credentials.
-
Open the Integrations Section
- Locate the side navigation panel on the left.
- Click on the Integrations tab.
-
Select Azure Integration
- On the Integrations page, you will see available options for AWS, Azure, and Microsoft accounts.
- Click on the Azure card to open the “Link a New Azure Account” page.

Note: Follow Initiating Azure Integration steps to Connect Azure Account in Xops , ensure that the following permissions are assigned
Initiating Azure Integration
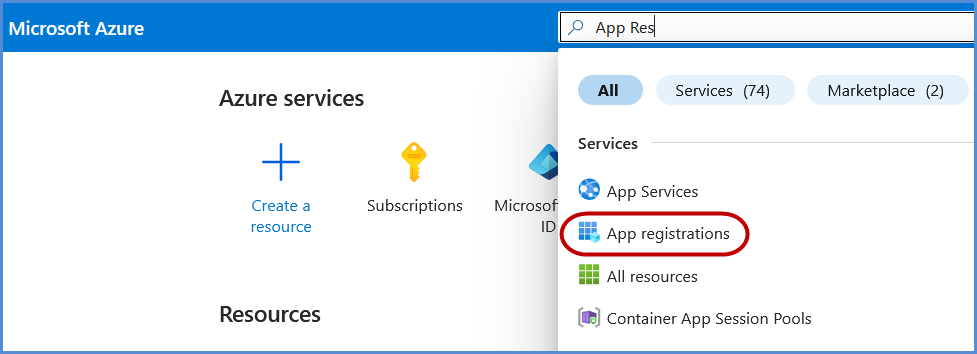
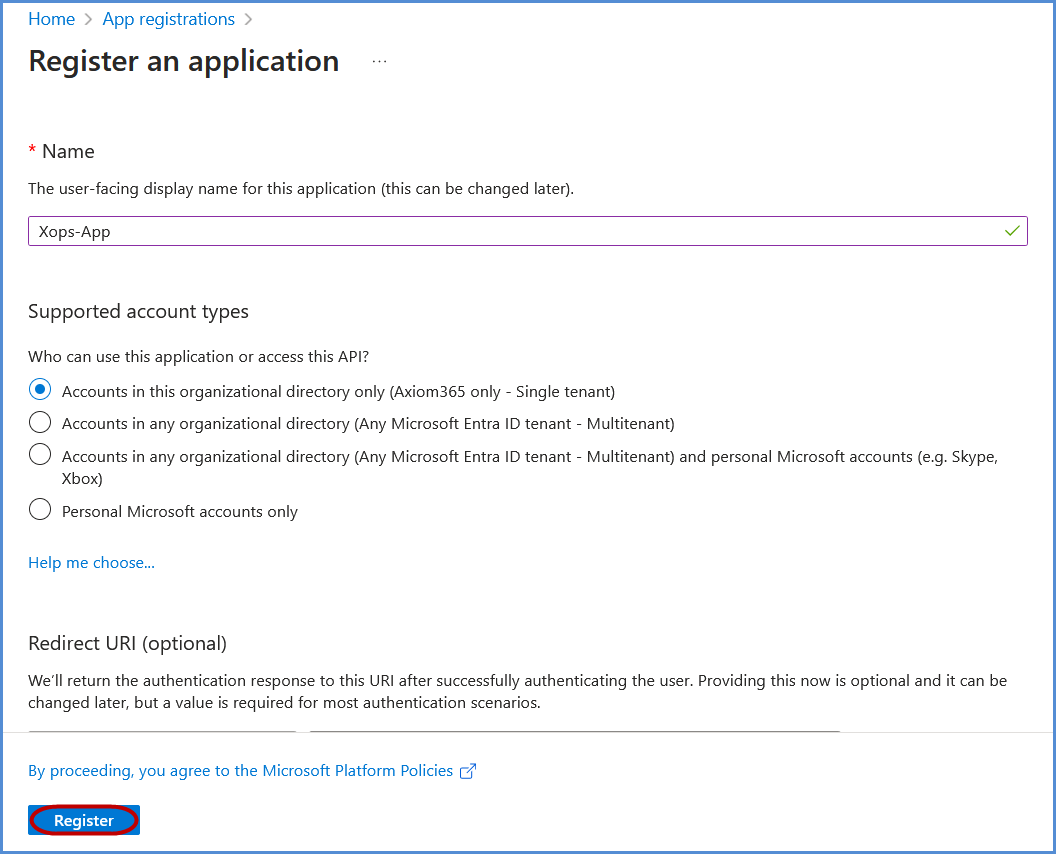
Registering an Application in Azure
-
Click on New Registration.
-
Register the application:
-
Provide a name for the application.
-
Under Supported account types, select Accounts in this organizational directory only if not set by default.
-
Click Register to complete the process.
-
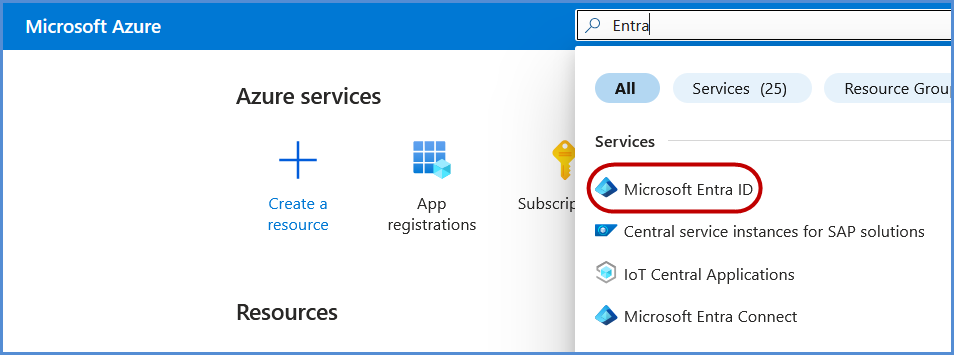
Assigning Entra ID Permissions
-
In the Azure Portal, search for Entra ID and select it.
-
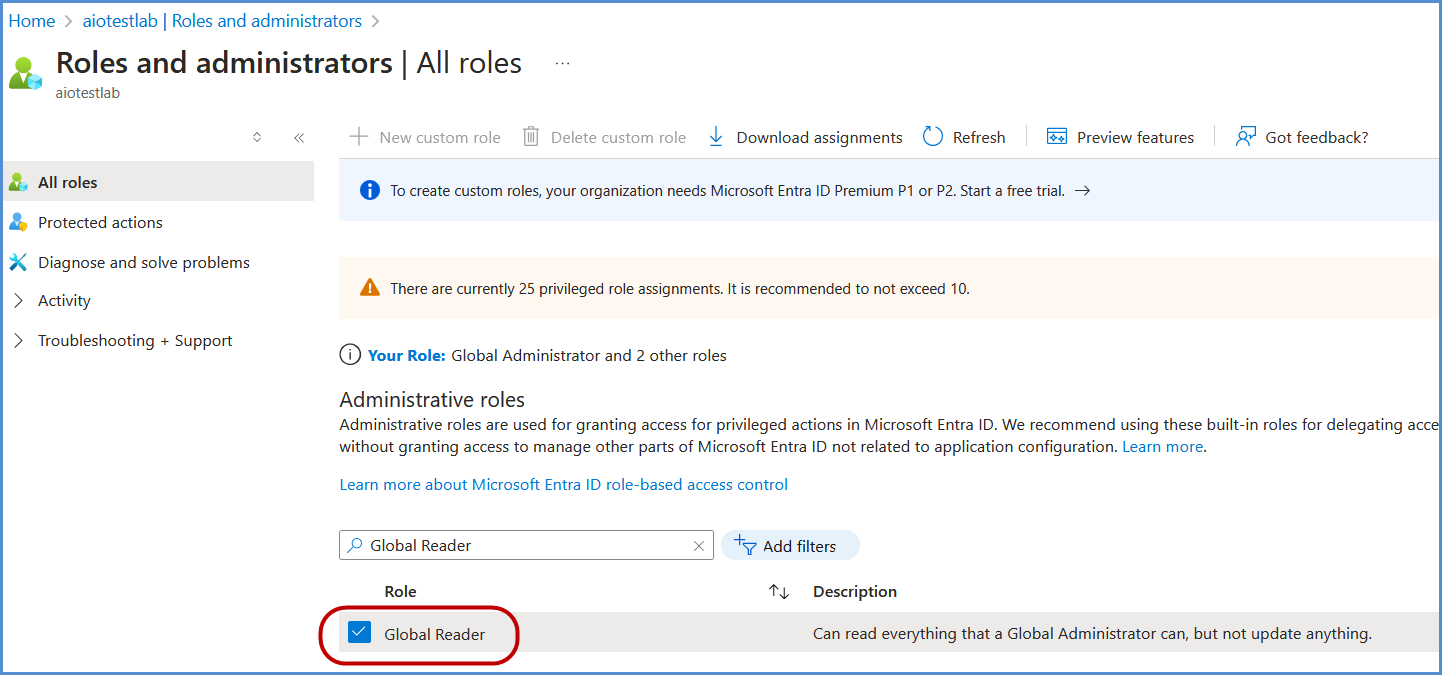
Go to Overview, and in the left navigation pane, click Roles and Administrators.
-
Search for Global Reader and select it.
-
Under Assignments, search for the application registered in the previous step, select it, and click Add to grant the Global Reader role to the application.

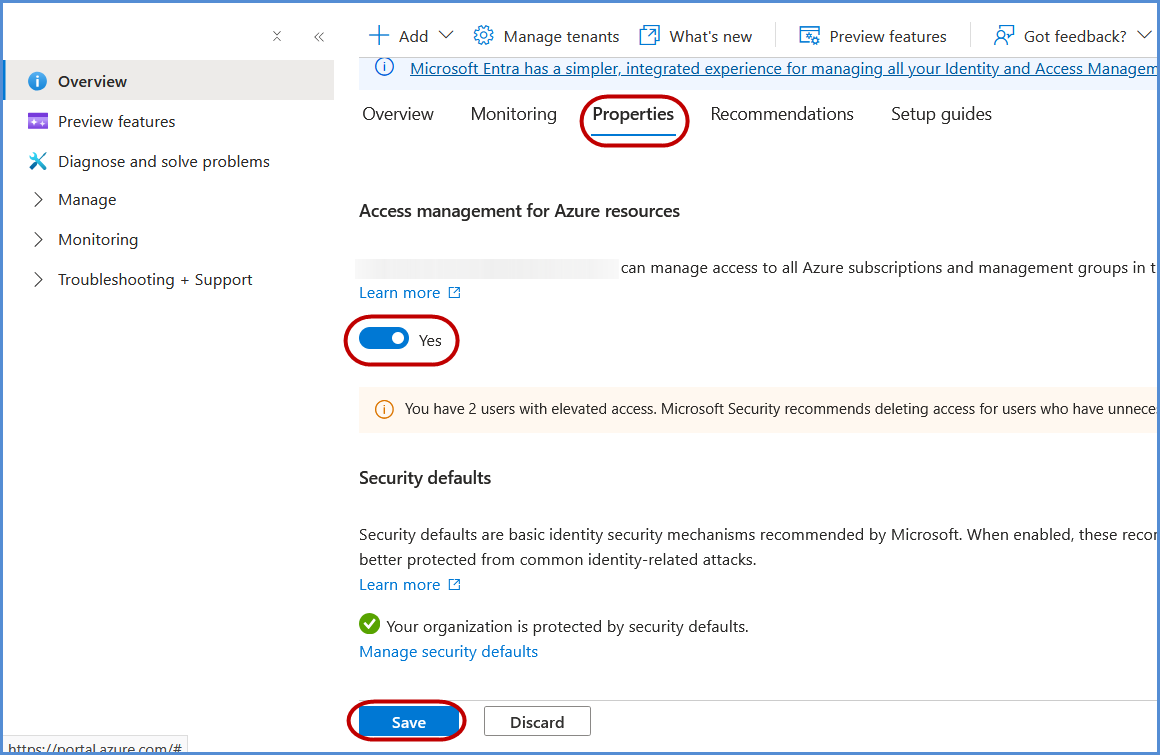
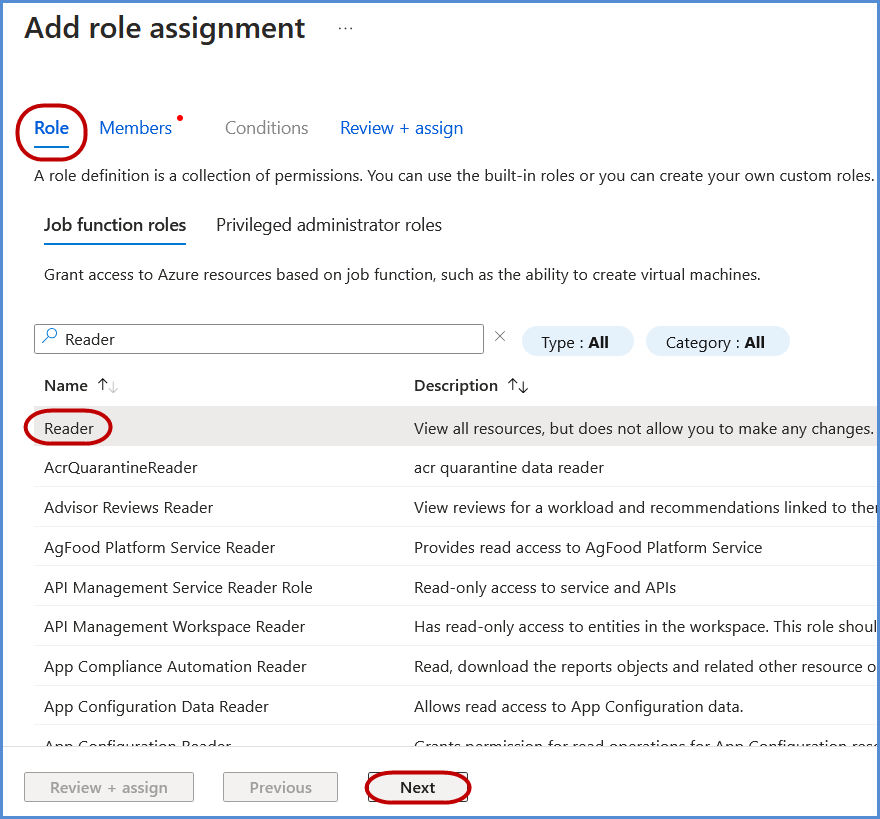
Assigning Management Group Permissions
-
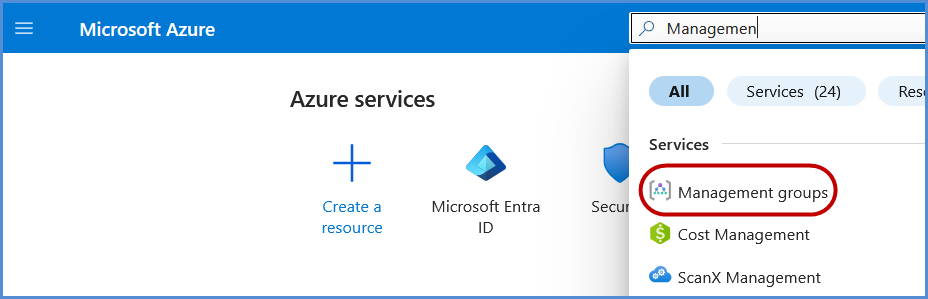
In the Azure Portal, search for Management Groups and select it.
-
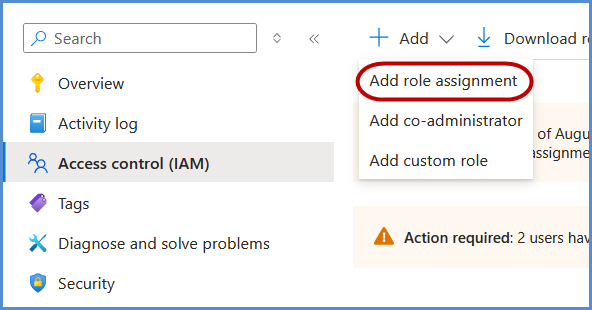
Under Roles, search for Reader, select it, and click Next.
-
Under Members, click Select members, search for the application name created earlier, and select it.
-
Click Select, then Review + Assign to complete the role assignment.
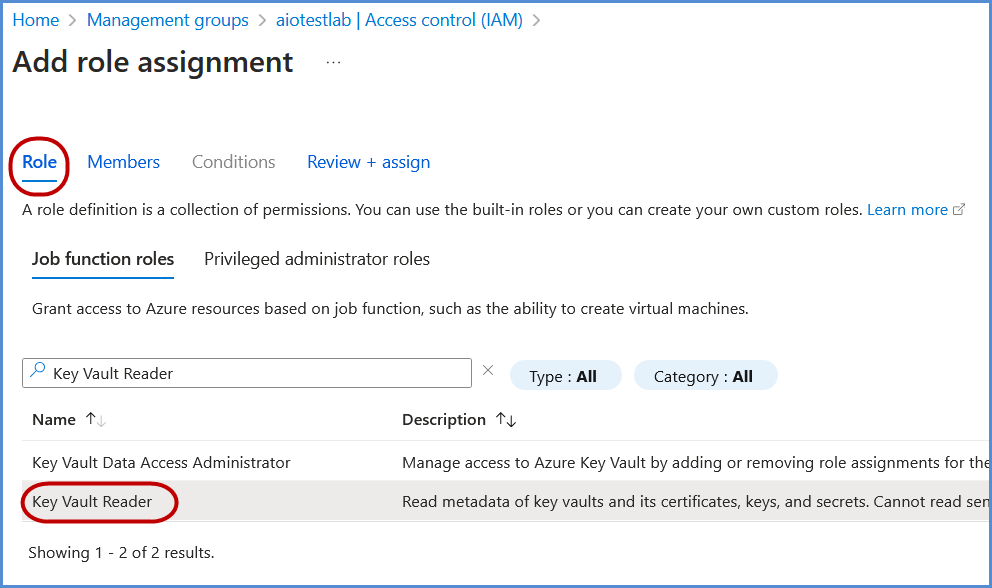
Assigning Key Vault Reader Permissions (If Applicable)
-
Follow the same steps as assigning Global Reader permissions to grant Key Vault Reader permissions.
-
If Key Vaults are configured with Access Policies (instead of RBAC), explicit permissions must be assigned to the application:
-
Grant List/Get Keys and List Secrets permissions for each Key Vault.
-
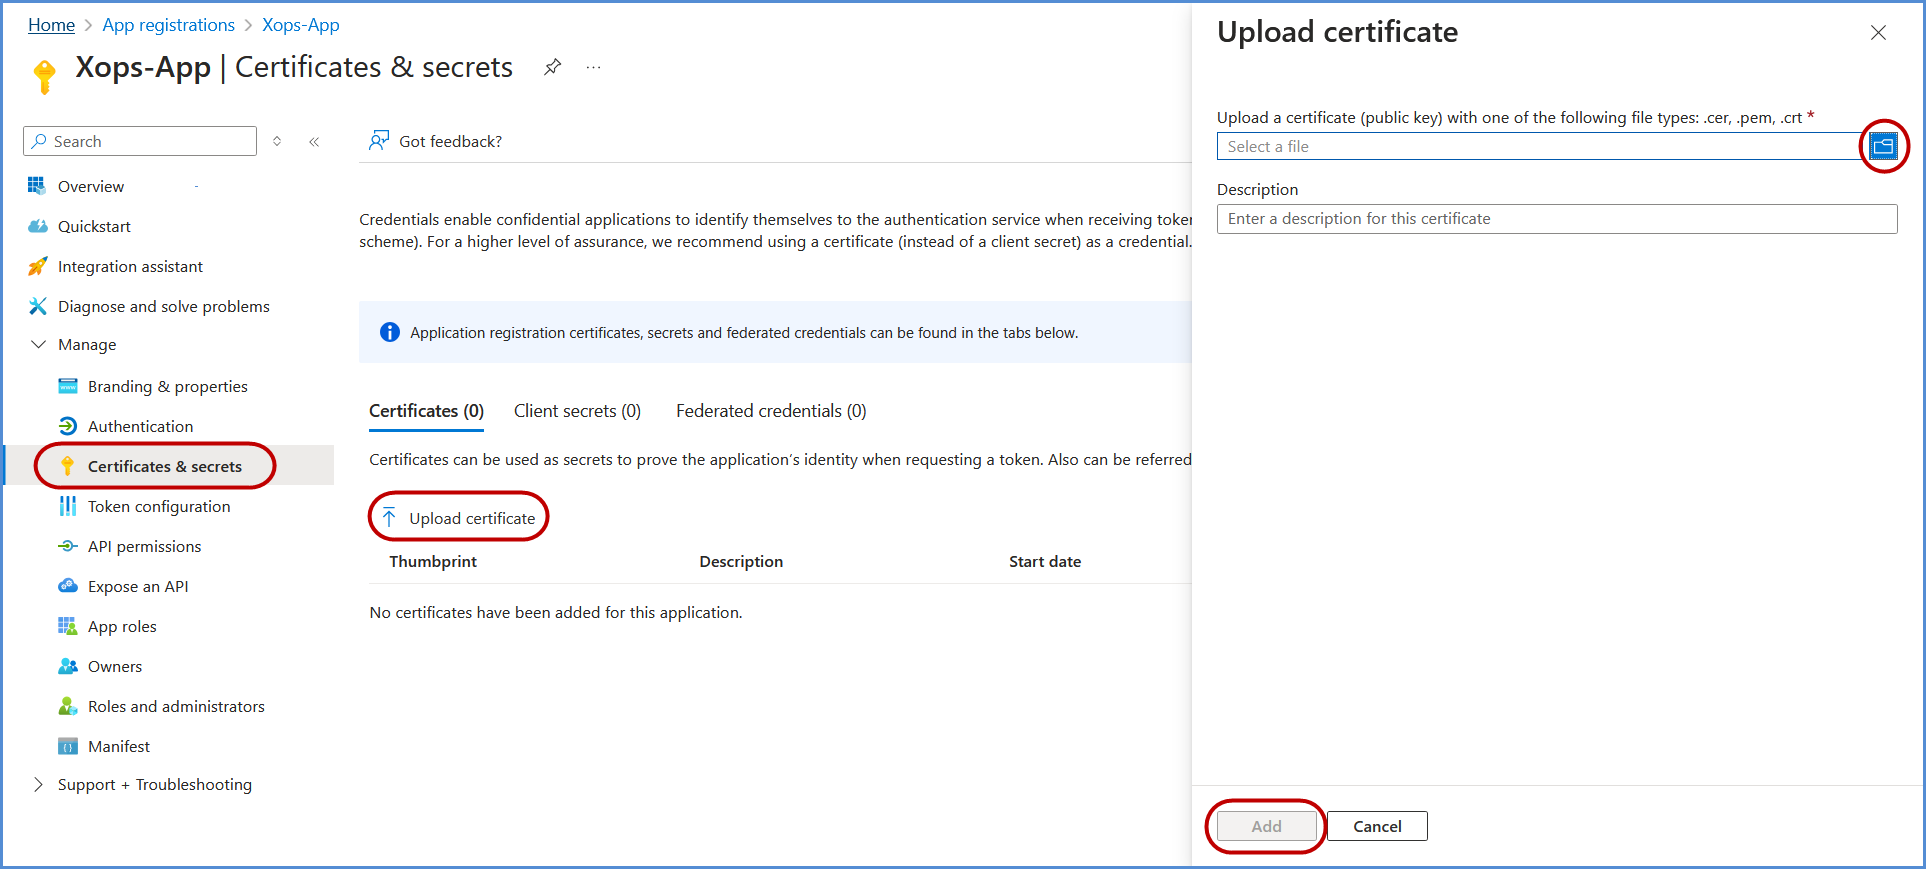
Adding a Certificate for Authentication
-
Return to the Azure Portal, open the application, and go to Manage > Certificates & Secrets.
-
Click Upload Certificate, select the certificate file downloaded earlier, and click Add to complete the upload process.
Note:
First-Time Login Experience
- When you log in for the first time, you will be prompted to select your preferred cloud service or platform (AWS, Azure, or Microsoft). This selection is required to establish the initial account connection.
- Once your account is successfully connected to AWS, Azure, or Microsoft, this selection screen will not appear in subsequent logins. Instead, you will be directed automatically to the Home page.
- To manage or modify integrations, navigate to the "Integrations" section from the left panel in the dashboard.
Managing Azure Subscriptions
- Access the Subscription Management Page
- Log in to the platform with your credentials.
- Navigate to the Integrations section, Select Azure icon.
- Select the connected Azure account to access the Subscription Management page.
Connecting Azure Subscriptions
- Edit the Connected Azure Account
- Locate the Azure account under Integrations.
- Click Edit to open the subscription management interface.
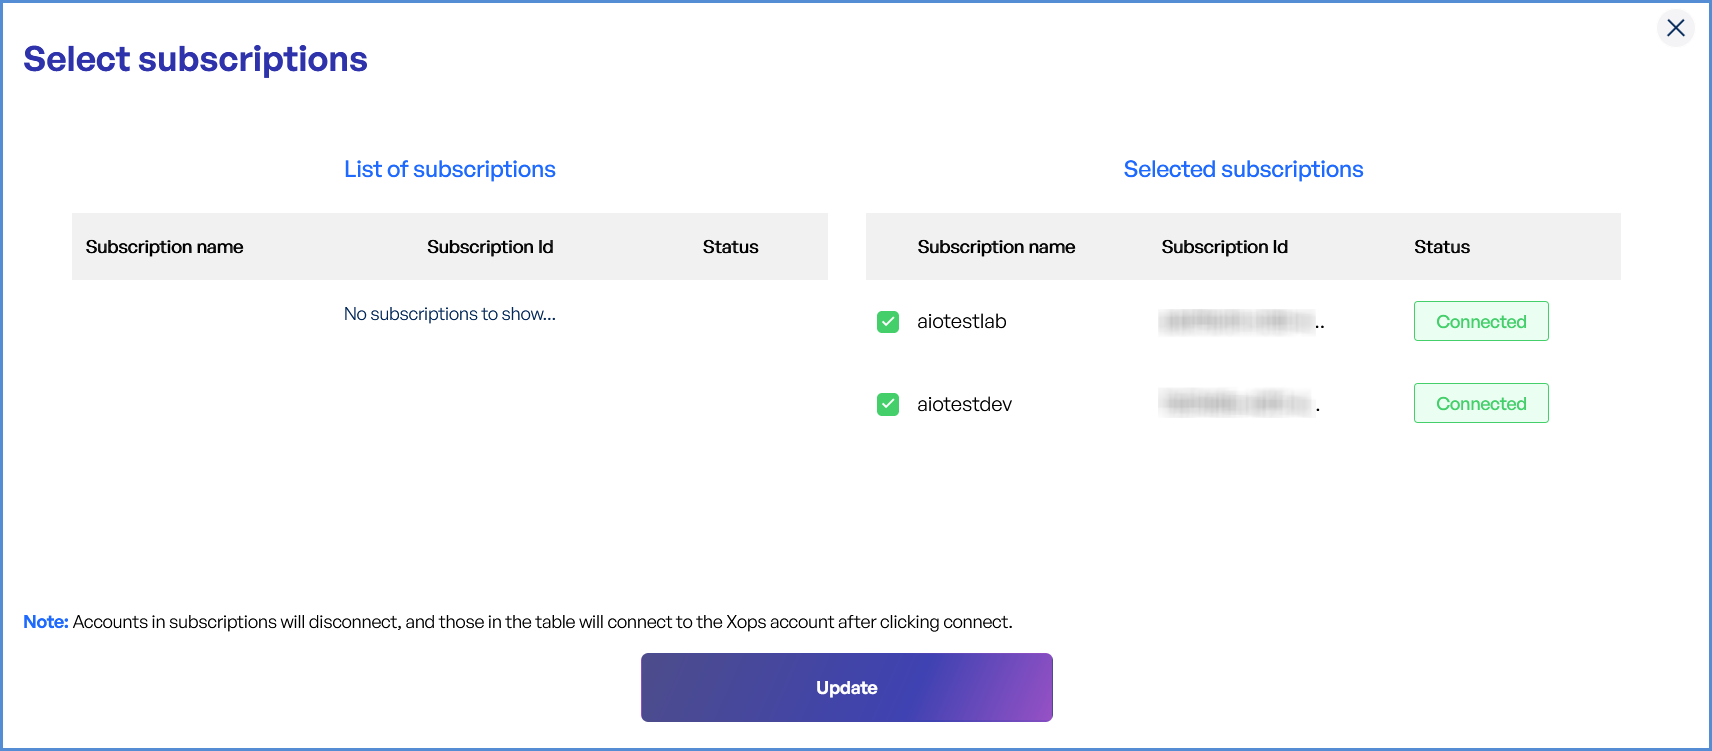
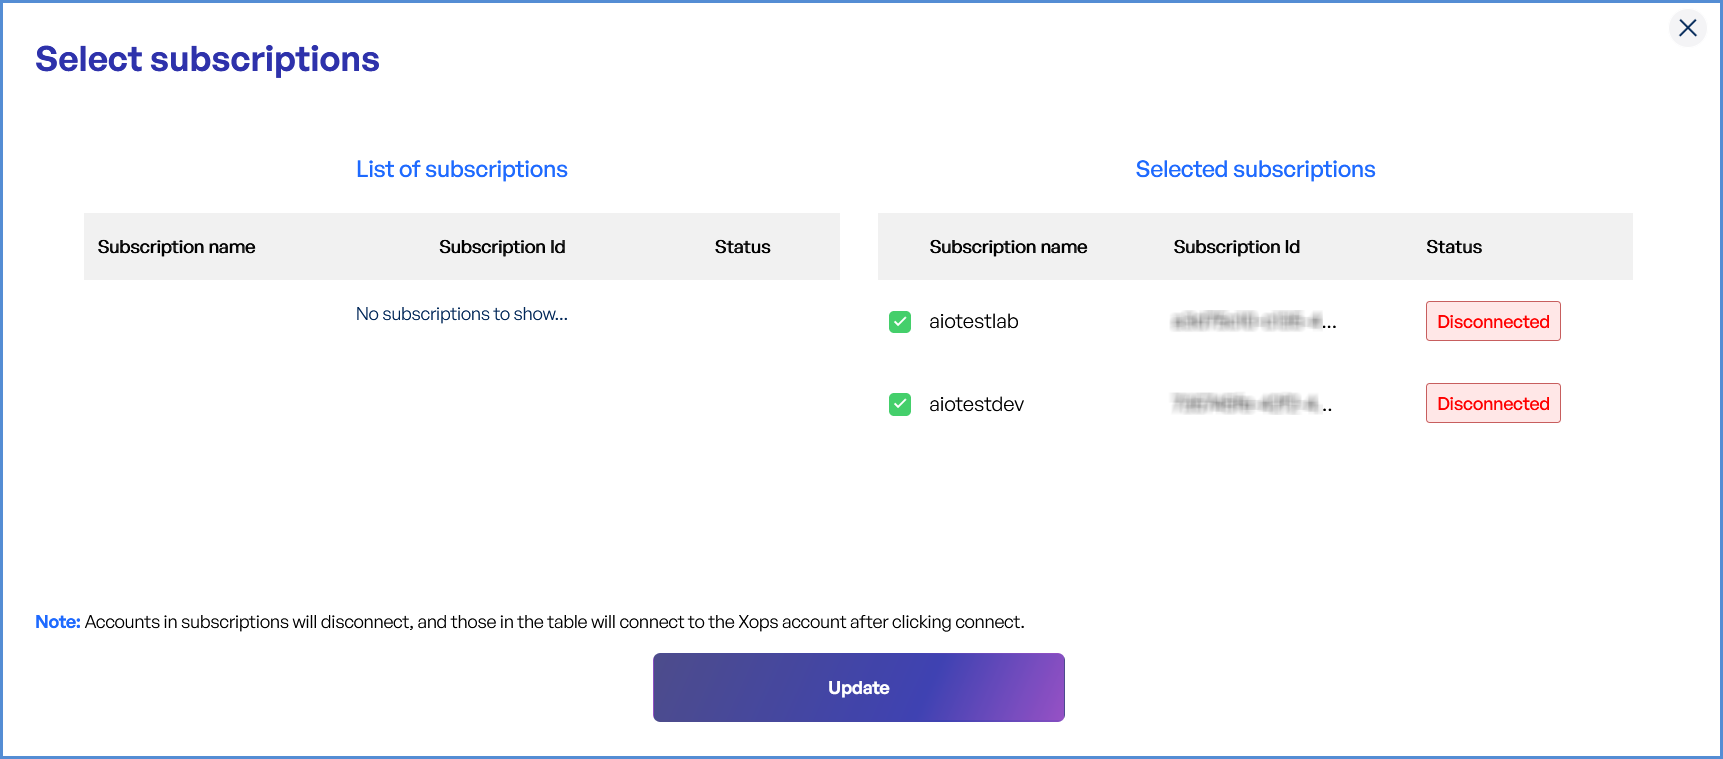
- View and Select Subscriptions
- List of Subscriptions: Displays all available Azure subscriptions.
- Selected Subscriptions: Highlights currently connected subscriptions.
- Select Desired Subscriptions
- Review the list of available subscriptions.
- Check the boxes next to the subscriptions you want to connect.
- Apply Changes
- Click Update to save and apply changes.
- Newly added subscriptions will be available in the platform.
Disconnecting Azure Subscriptions
- Edit the Connected Azure Account
- Go to the Integrations section and locate the Azure account.
- Click Edit to manage the account’s subscriptions.
- Deselect Subscriptions
- Under Selected Subscriptions, uncheck the subscriptions you want to disconnect.
- Apply Changes
- Click Update to finalize changes.
- The deselected subscriptions will no longer be associated with your account.