Accessing and Managing Report History
Reviewing Historical Reports
-
Log In to the Xops Portal
Log In to the Xops Portal
Use your credentials to login to theXopsPlatformplatform.- Access the platform and sign in using your credentials.
- Locate the Reports option in the side navigation bar.
- Click on it to access the report management dashboard.
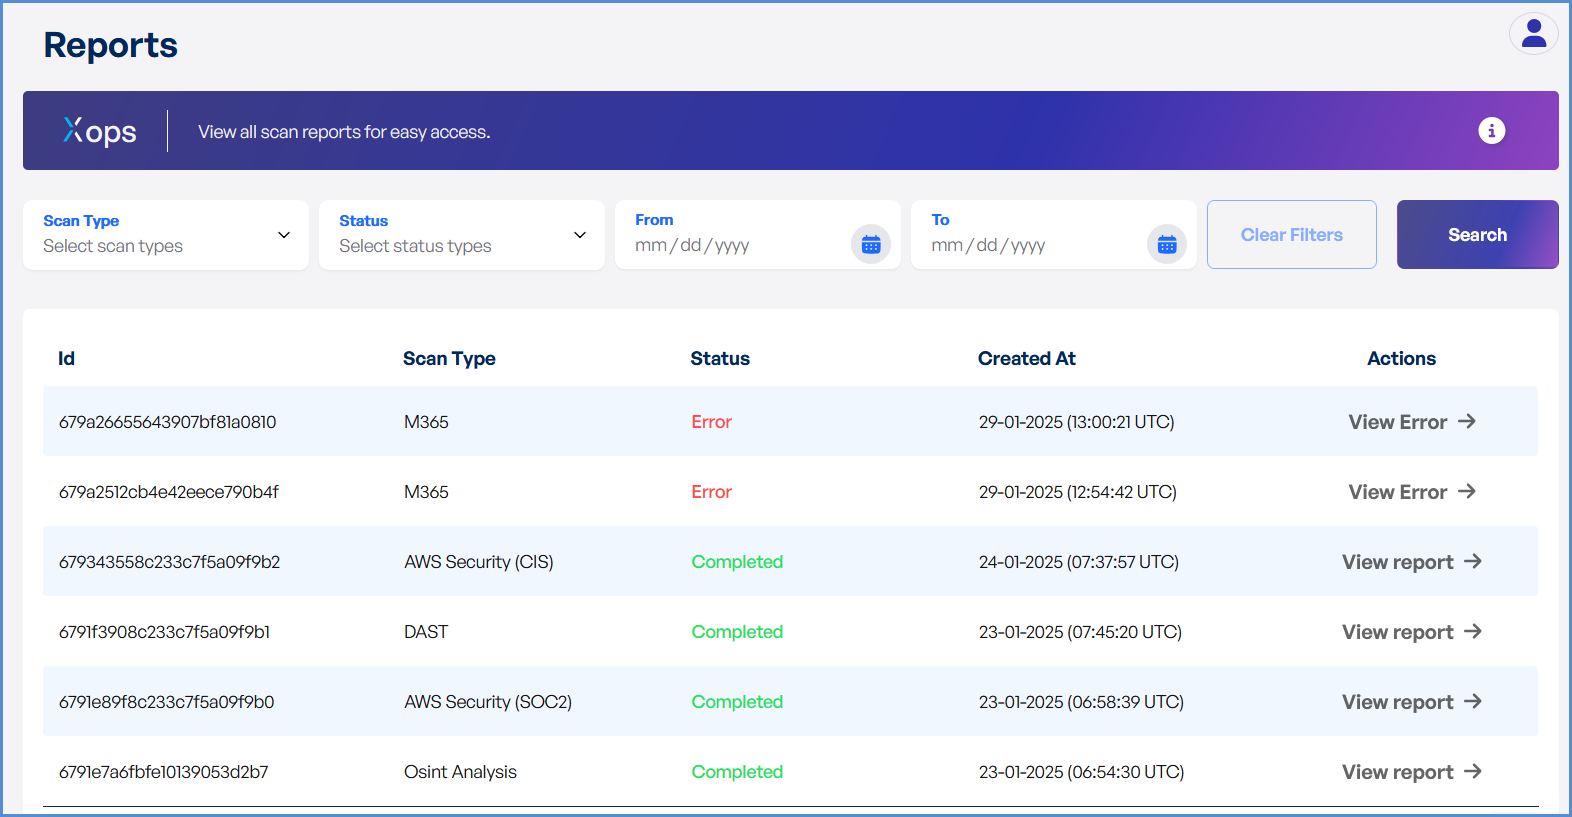
- In the Reports section, navigate to the History tab or select Report History from the
dropdowndrop down menu. - This page
displaysprovides acomprehensivelist of all previously generated reports.
- Date Range
,– View reports generated within a specific time frame. - Report Type
,– Filter by security, compliance, or audit reports. - Status
,to–narrowIdentifydowncompleted,thepending,list.or failed reports.
- Locate the desired report
infrom the list. - Click on the View Details or Report Name link to open
the report.it. - Review
the detailedkey information, including:- Scan
dateDateand&time.Time – Timestamp of the report generation. - Compliance
statusStatusor/vulnerabilitiesVulnerabilitiesidentified.Identified – Key findings from the report. - Recommendations
and&insights.Insights – Suggested actions for remediation.
- Scan
Export Reports (Optional)
For further analysis, click theExportbutton to download the report in your preferred format.