1. Executing Scans in CloudOps
Executing Scans in Cloud Operations
- Log in to the Platform
- Access the platform and sign in using your credentials.
- Navigate to CloudOps
-
Locate the Side Navigation Bar on the left-hand side of the screen.
-
Click on the CloudOps tab to access its features.
-
- Verify AWS Account
-
Ensure that an AWS account has already been added to the platform.
-
If no account is available, navigate to the Integrations page to add an AWS account.
-
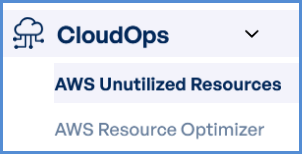
- Select a Scan Type
-
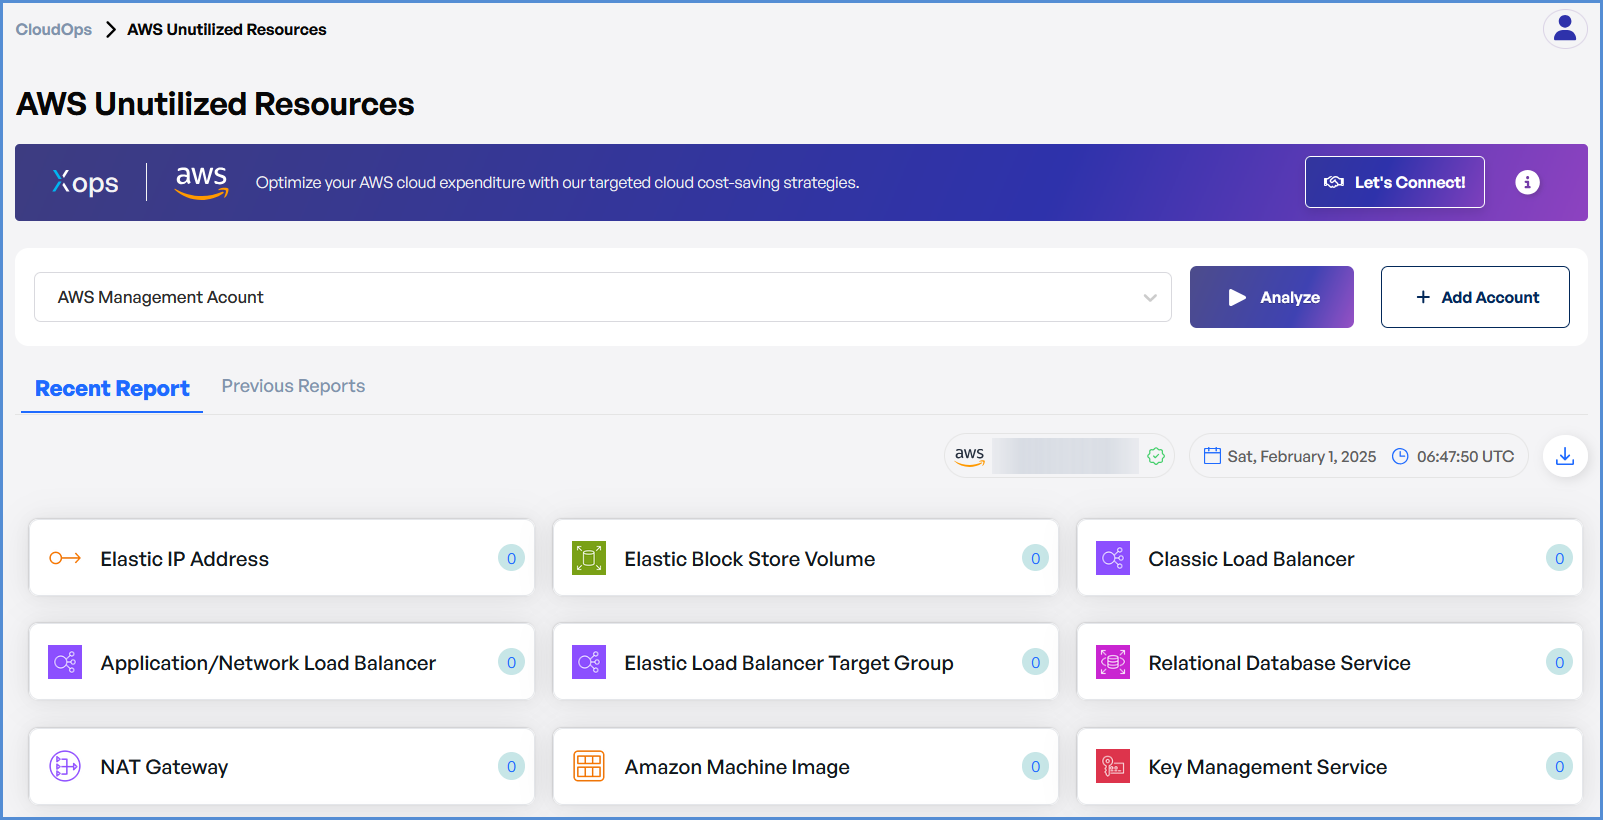
On the Cloud Ops page, choose from the following scan options:
-
AWS Unutilized Resources
-
AWS Resource Optimizer
-
-
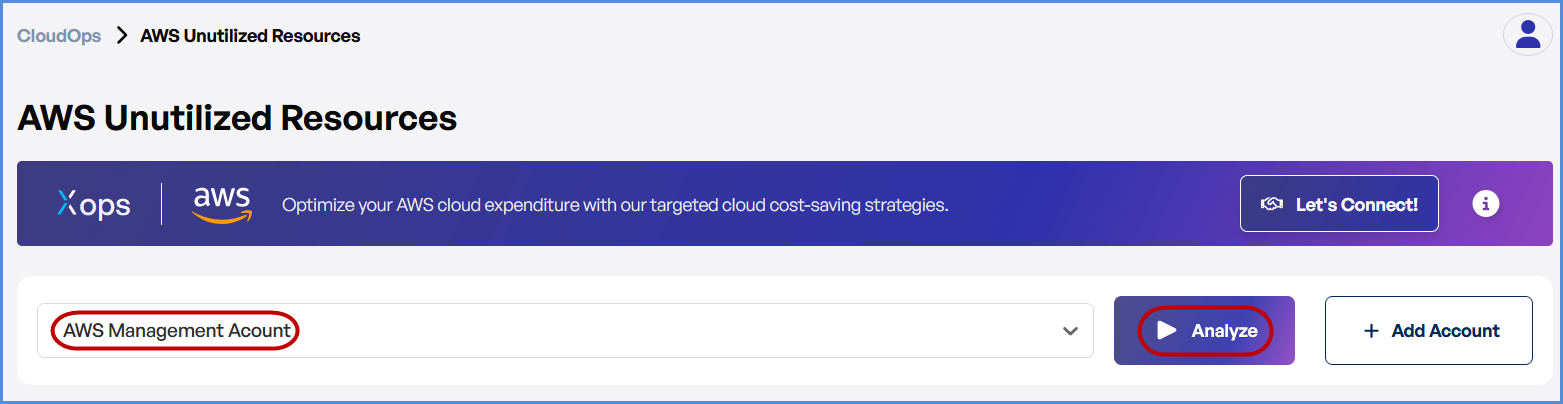
- Initiate the Scan
-
Select the desired AWS account from the available list.
-
Click Analyze to initiate the scan for the selected account.
-
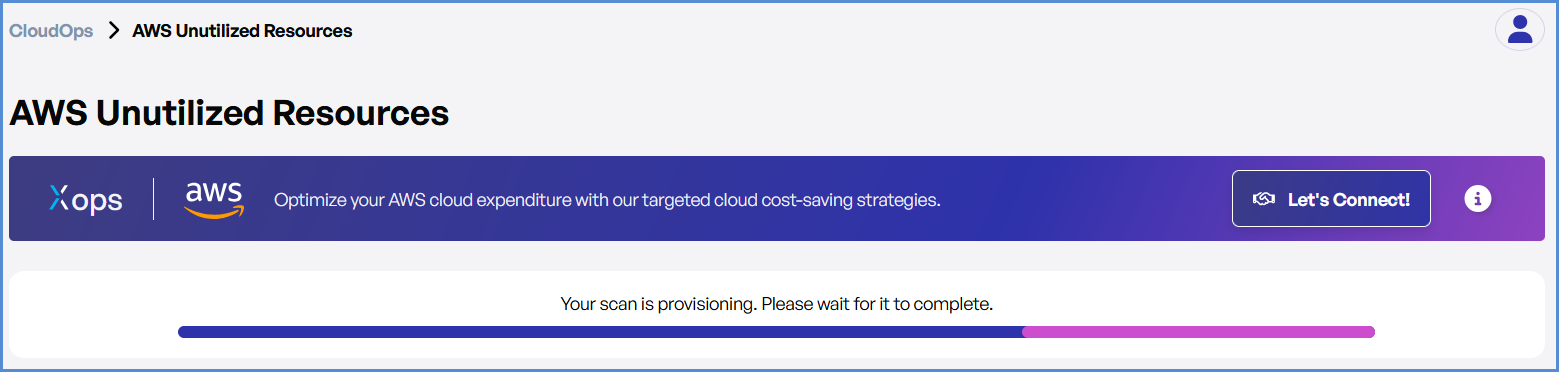
- Monitor and Review Results
The- Monitor scan
progressprogress, and upon completion, a report will bevisiblegeneratedonthentheopenCloudOpsit.
Dashboard. - Monitor scan
-
-
Once the scan is complete, detailed results will be available for review.
-
Use the results to identify optimization opportunities and unutilized resources.
-
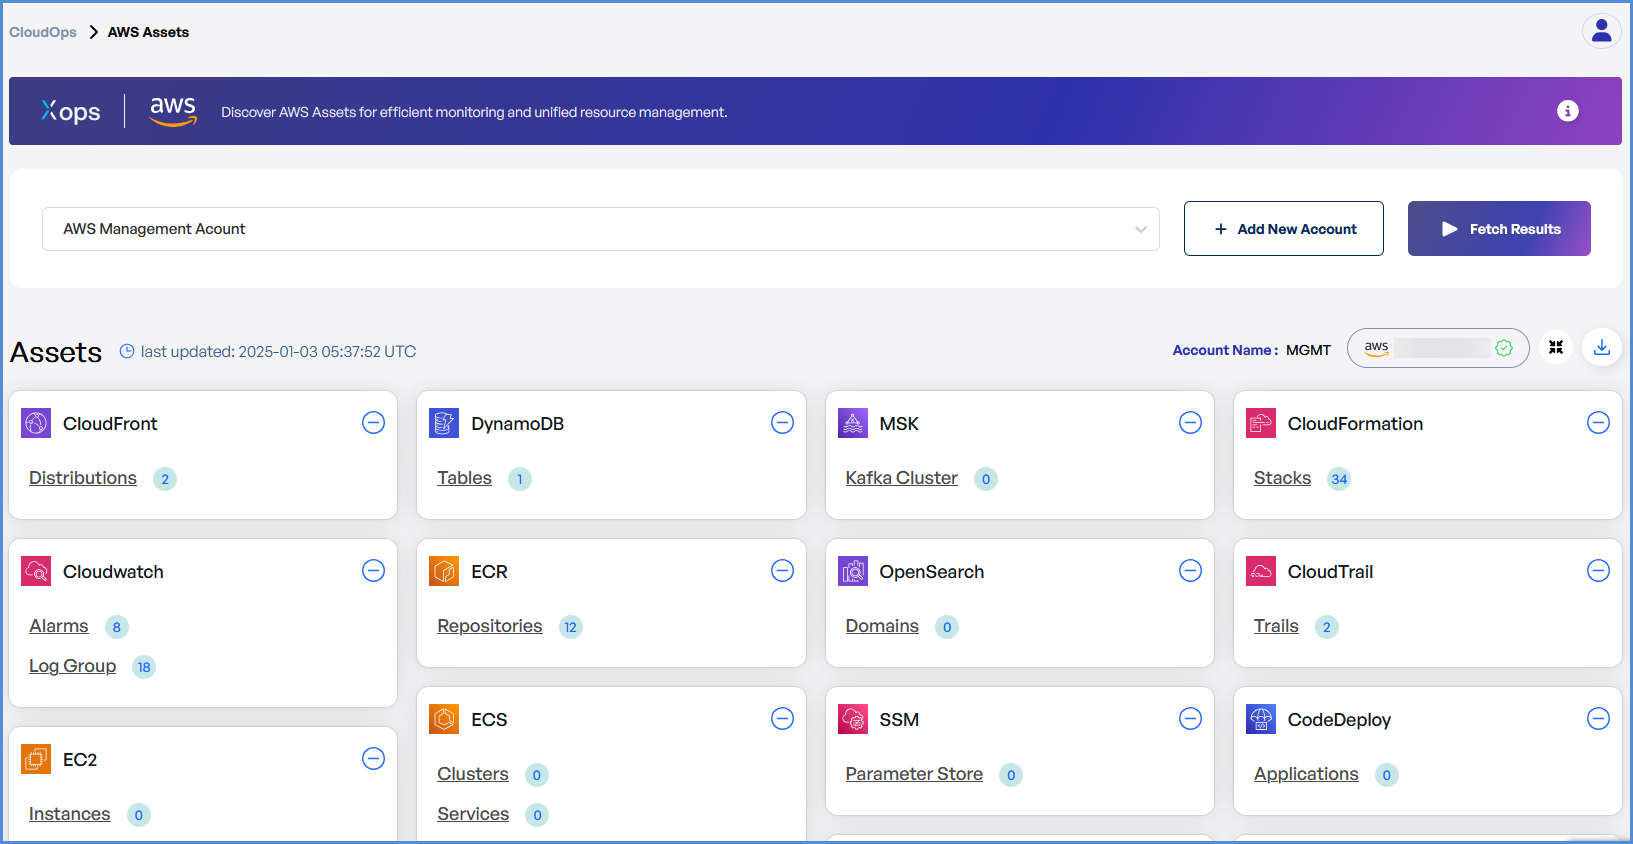
Running a Scan in Assets (AWS and Azure)
- Log in to the Platform
-
- Access the platform and sign in using your credentials.
-
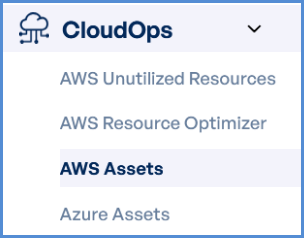
- Navigate to AWS/Azure Assets
-
From the Side Navigation Bar, select AWS Assets or Azure Assets, based on the cloud provider you want to scan.
-
 Verify AWS Account
-
-
Ensure that an AWS account has already been added to the platform.
-
If no account is available, navigate to the Integrations page to add an AWS account.
-
- Run the Scan
-
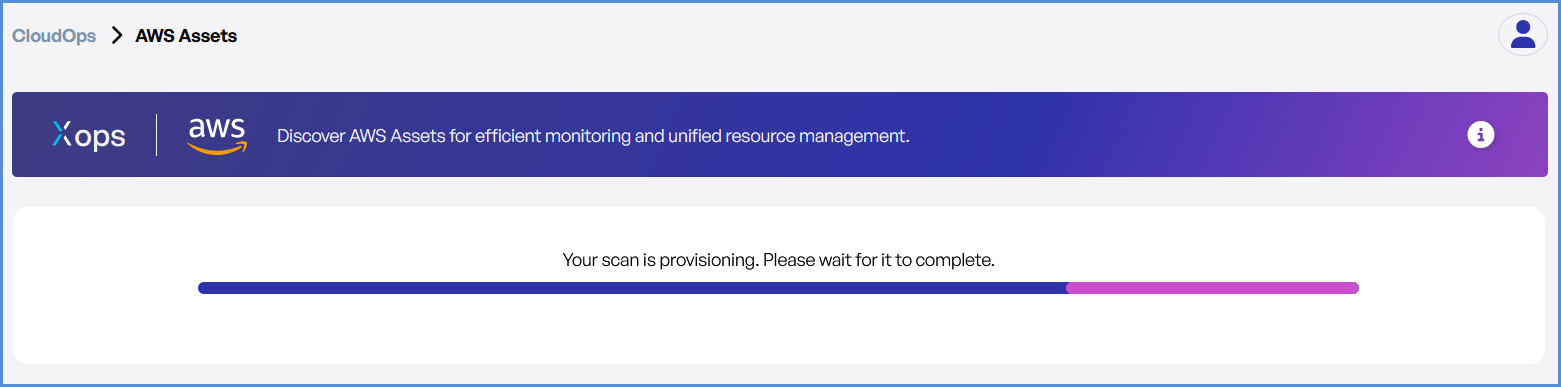
Locate the desired account in the Assets section.
-
Click Fetch Results to initiate the scan for the selected account.
-
- Monitor and Review Results
-
The scan will start fetching results for the selected account.
-
Once completed, detailed results will be displayed on the Assets Dashboard for review.